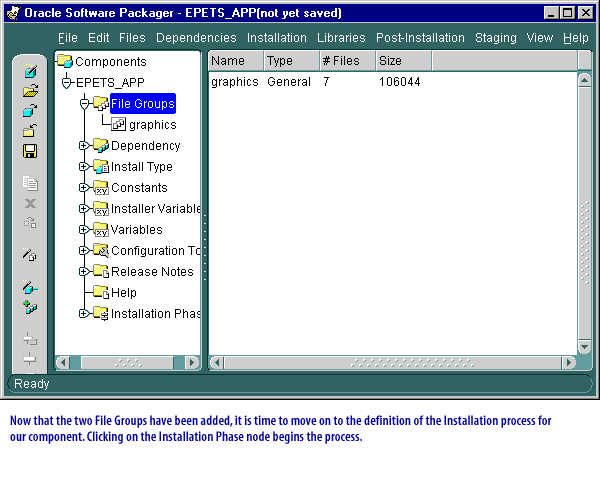
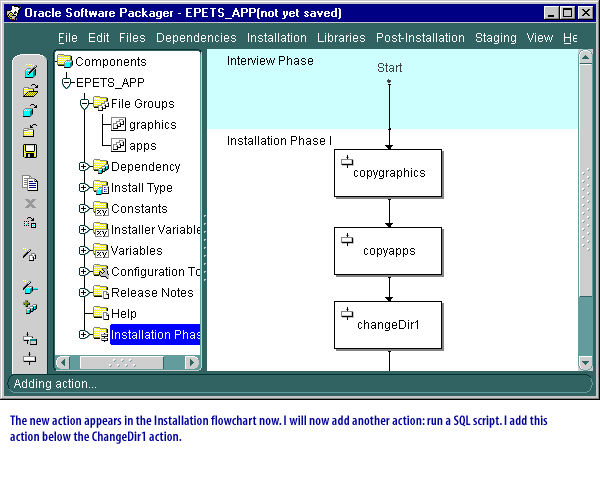
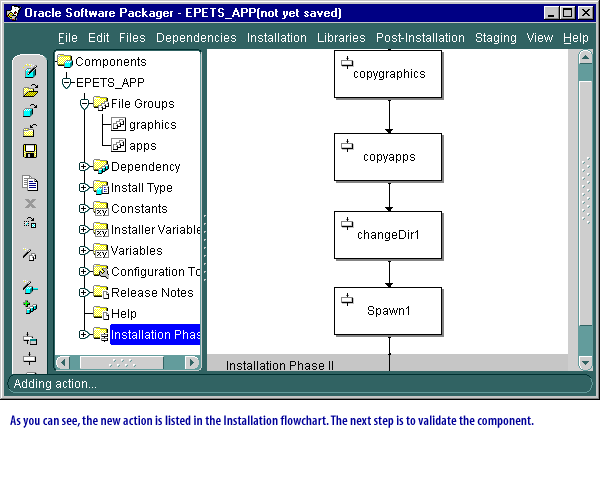
1) Now that the two File Groups have been added, it is time to move on to the definition of the installation process for our component. Clicking on the Installation Phase node begins the process.
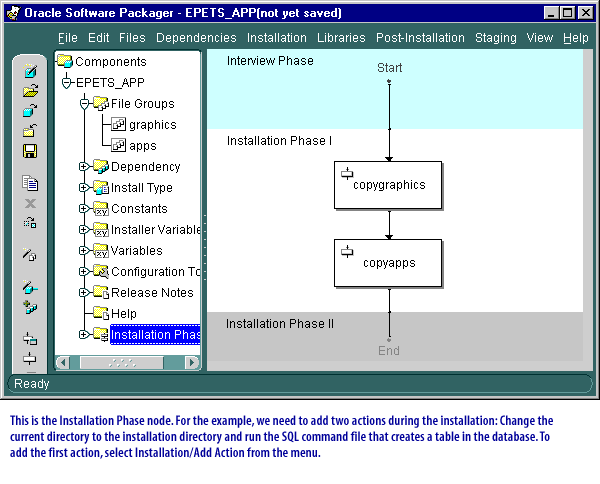
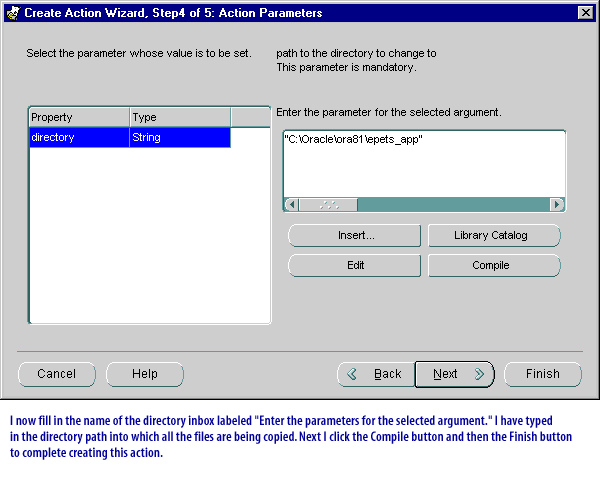
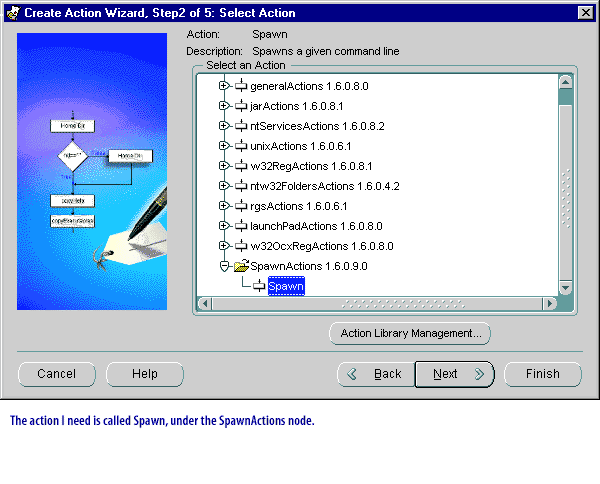
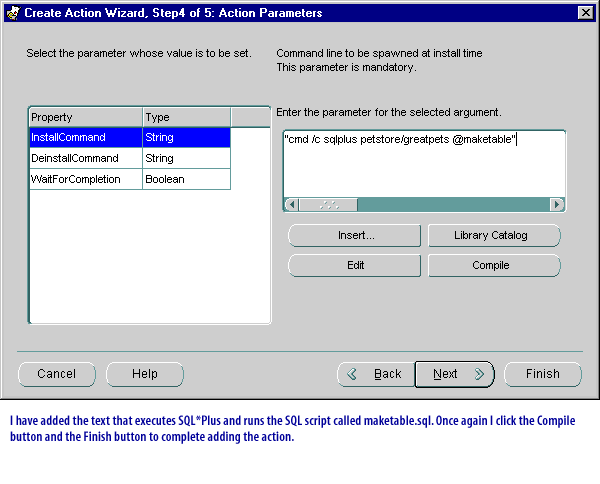
2) This is the installation Phase node. For the example, we need to add two actions during the installations. Change the current directory to the installation directory and run the SQL command file that creates a table in the database. To add the first action, select Installation/Add Action from the menu.
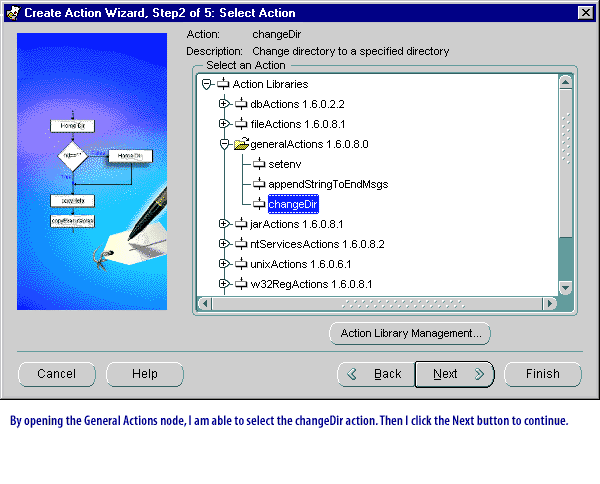
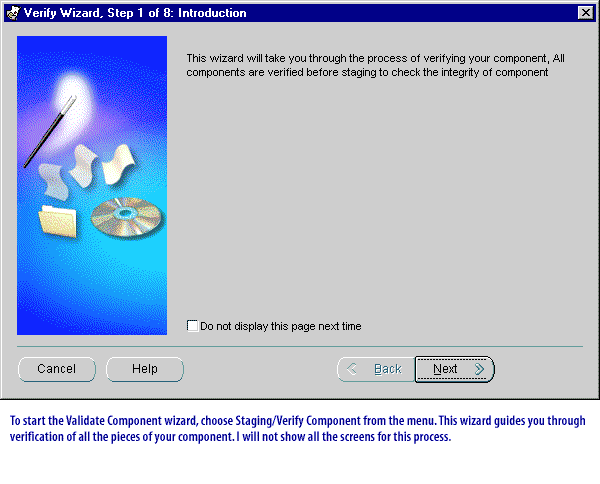
3) Notice the small hand in the power portion of the window.
after selecting 'Add Action' from the menu. It appears that nothing happens. However, when I move my cursor to the flowchart to the right part of the window
4 5 6 7 8 9 10 11 12 13
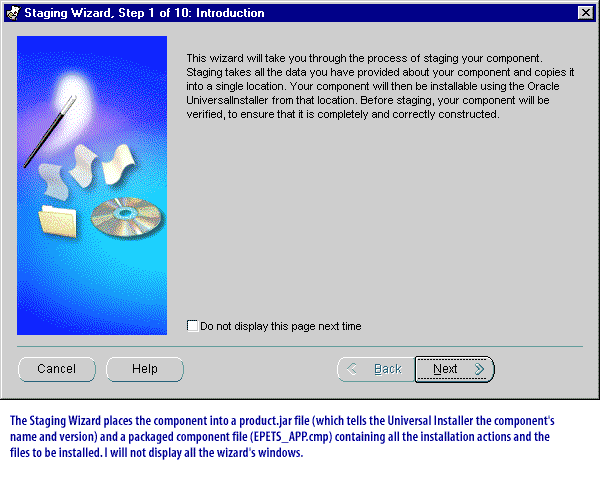
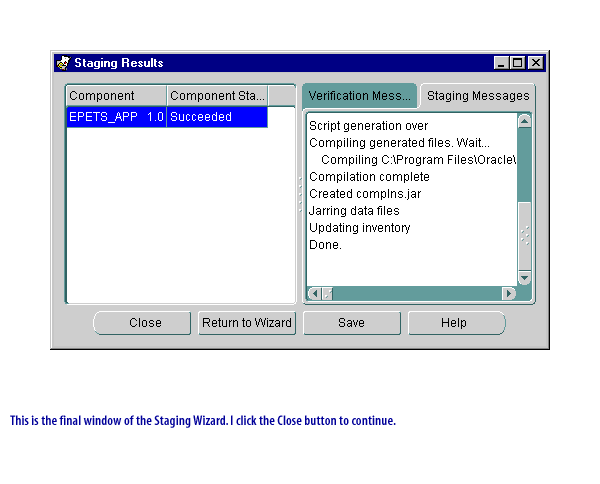
The Staging Wizard places the component into a product.jar file.
This is the final window of the Staging Wizard. Click the close button to continue. Now the staging area must be verified.
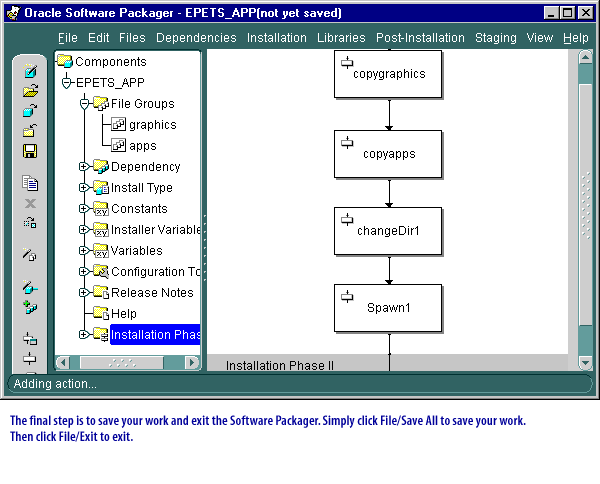
The final step is to save your work and exit the Software Packager. Simply click File/Save to save your work. Then click File/Exit to exit.
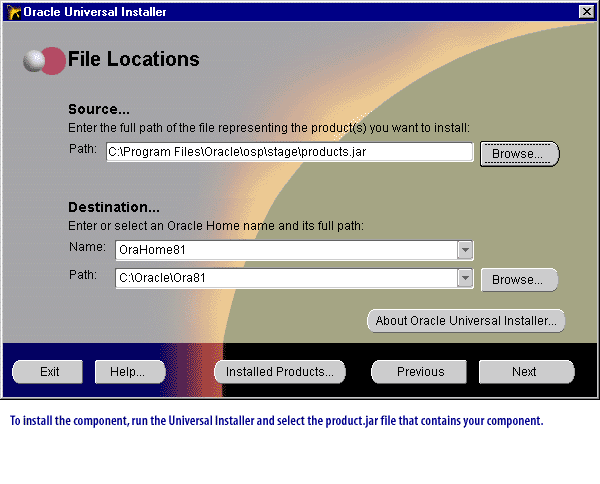
To install the component, run the Universal Installer and select the product.jar file that contains your component
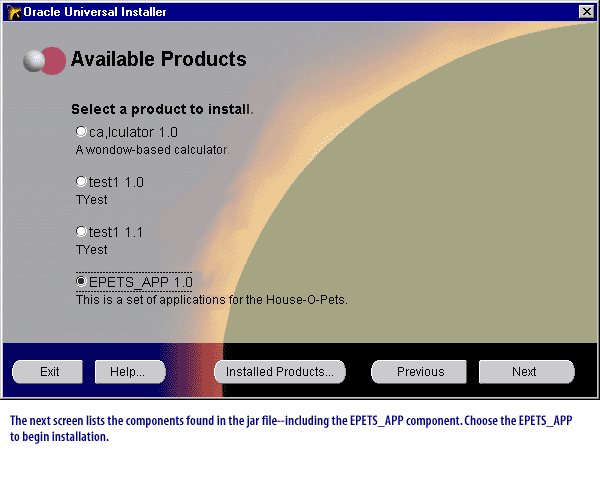
The next screen lists the components found in the jar file, including the EPETS_APP component. Choose the EPETS_APP to begin installation.
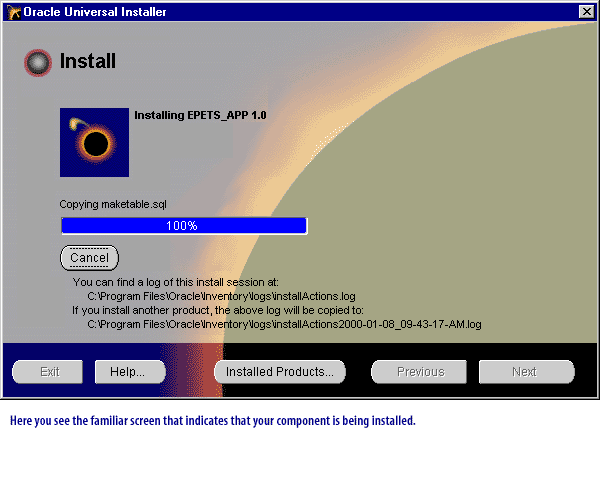
Here you see the familiar screen that indicates that your component is being installed.
26
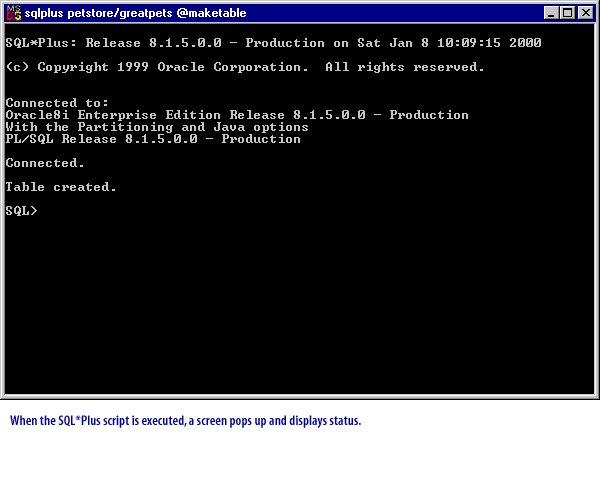
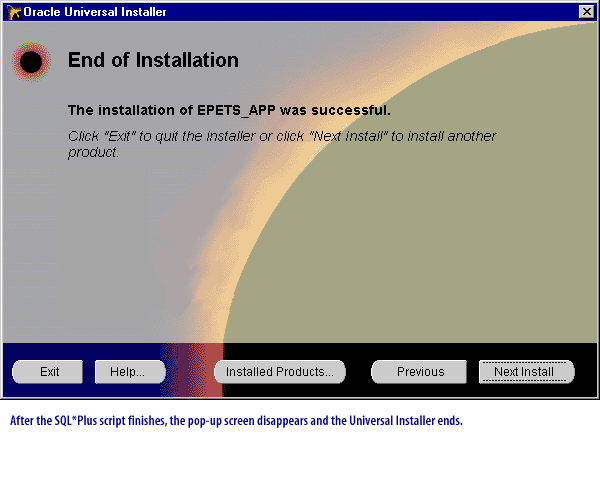
After the SQL*Plus finishes, the pop-up screen disappears and the Universal Installer ends