One action that you cannot do through the wizard is to put graphics (except for the background) on your form, such as a company logo. Although caution should be used to not hinder performance, adding the company logo on your forms goes a long way toward making your database look professional and attractive.
You can add any supported Windows graphic image, although the most common are bitmaps (.bmp files). The control to use for the graphic is called the Image control. The Image control is located in the form design toolbox
Image control
Here are the steps you use to add an image to your form. With the form open in Design view:
Click the Image control in the toolbox.
Drag and drop the image to the point on the form where you want it placed. The Insert Picture dialog then appears. (This is a standard Windows Open File dialog.)
Locate the image on your system that you want to use, then click OK. Your image will now appear on the form.
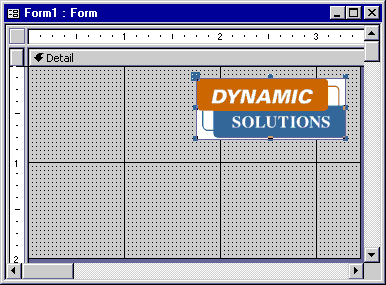
Using the sizing handles on the control, you can resize the Image control to match the image. If you need an image with which to practice, download the dynform.gif image below and save it to disk. You can see what the form would look like when you download the image.
dynform.gif image
You will normally want to place a logo or other graphic that will not be changing in the Form Header section of a form. We will address how to do this later in the module.
Although graphics add a great deal to forms and reports by way of aesthetics, you have to remember that every graphic you add can hinder performance.
When you add a graphic, test the form for speed in two areas: load time and moving from record to record. You should be able to determine the cost in performance and decide if it is worth using the graphic on the form or report.
While graphics can enhance the visual appeal of Microsoft Access forms and reports**, they can also have a noticeable impact on performance, particularly in the areas you mentioned:
Load Time:Every graphic added to a form or report can increase the time it takes for Access to load that object. This is especially true for large image files or complex graphics, which can cause the form or report to take longer to render. The more images you add, the more system resources are required to load the form, potentially slowing down the application.
Moving from Record to Record:When a form contains embedded graphics, moving between records can slow down, as the system has to reload or refresh the graphics for each record. This can be particularly noticeable if the graphics are tied to record data (e.g., product images) or if Access is querying external files or data sources for each graphic.
Best Practices to Mitigate Performance Impact:
Optimize image size and format:Use optimized, compressed images (e.g., PNG or JPEG) with reduced file sizes. Avoid large, high-resolution images unless absolutely necessary.
Use linked images rather than embedded images:Linked images are stored outside the Access database, reducing the database size and speeding up load times. Ensure the images are stored in a fast-access location (such as a local drive or a high-speed network share).
Reduce the number of graphics:Only include graphics that are essential to the functionality or aesthetics of the form. Minimizing the use of images will reduce the load on system resources.
Test regularly:As you suggested, regularly test both load time and navigation performance as you build your forms. This will help you identify performance bottlenecks early in the design process.
Consider caching techniques:If Access is retrieving images or graphical elements dynamically, consider ways to cache or preload images where possible to reduce repeated loading times.
Balancing the use of aesthetics and performance is key in Microsoft Access, so keeping these principles in mind will help maintain an efficient and visually appealing user experience.
In the next lesson, you will learn different ways to view a form’s properties.