Add Calculated Control in Access
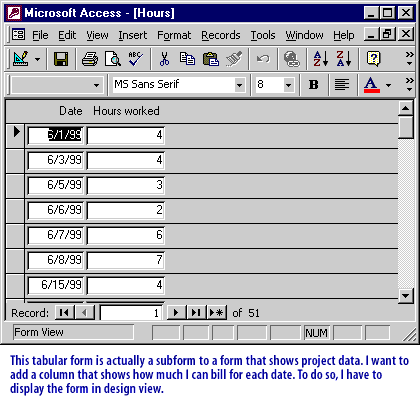
You can use calculated controls in Access databases to display the results of a calculation. For example, if you have a report that displays the number of items sold and the price of each unit, you can add a calculated text box that multiplies those two
fields to display the total price. The Control Source property of the calculated text box contains an expression that multiplies two fields (the number of items times the unit price) to obtain the result.
This procedure helps you create a calculated control without using a control wizard.
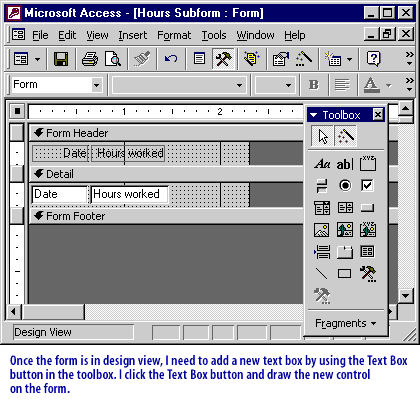
- Right-click the form or report in the Navigation Pane, and then click Design View Button image.
- On the Design tab, in the Controls group, click the tool for the type of control you want to create.

Access Calculation Contorl
For a list of control types that can be used as calculated controls, see the section Learn which types of controls can be used as calculated controls.
- Position the pointer where you want the control to be placed on the form or report, and then click on the form or report to insert the control.
- If a control wizard starts, click Cancel to close it.
- Select the control, press F4 to display the property sheet, and then type an expression in the Control Source property box. To use the Expression Builder to create the expression, click Builder button next to the Control Source property box.
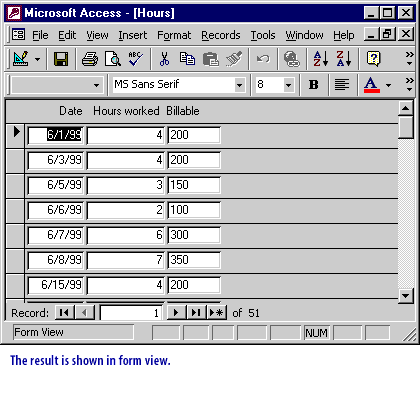
- Switch to Form view or Report view and verify that the calculated control works as you expect.
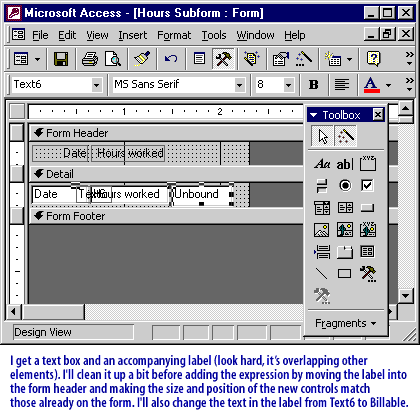
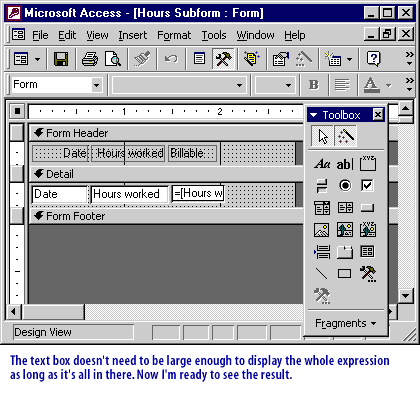
![Now I am ready to put the expression in the text box. The billable amount is the hours worked times the $50 hourly rate, so the expression is :<br>
=[Hours worked] * 50. The expression must start with an equals sign, and field names need to be in square brackets. Remember the rules for query expressions](images/calculated-control4.gif)
=[Hours worked] * 50. The expression must start with an equals sign, and field names need to be in square brackets. Remember the rules for query expressions
